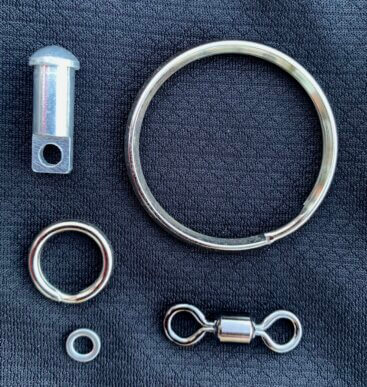
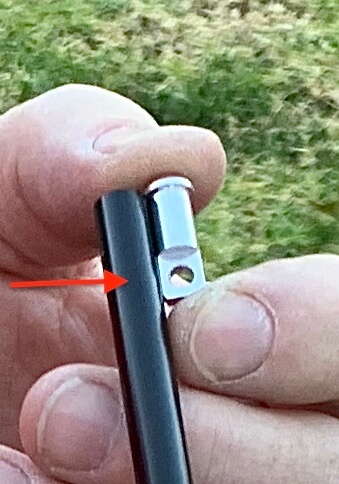
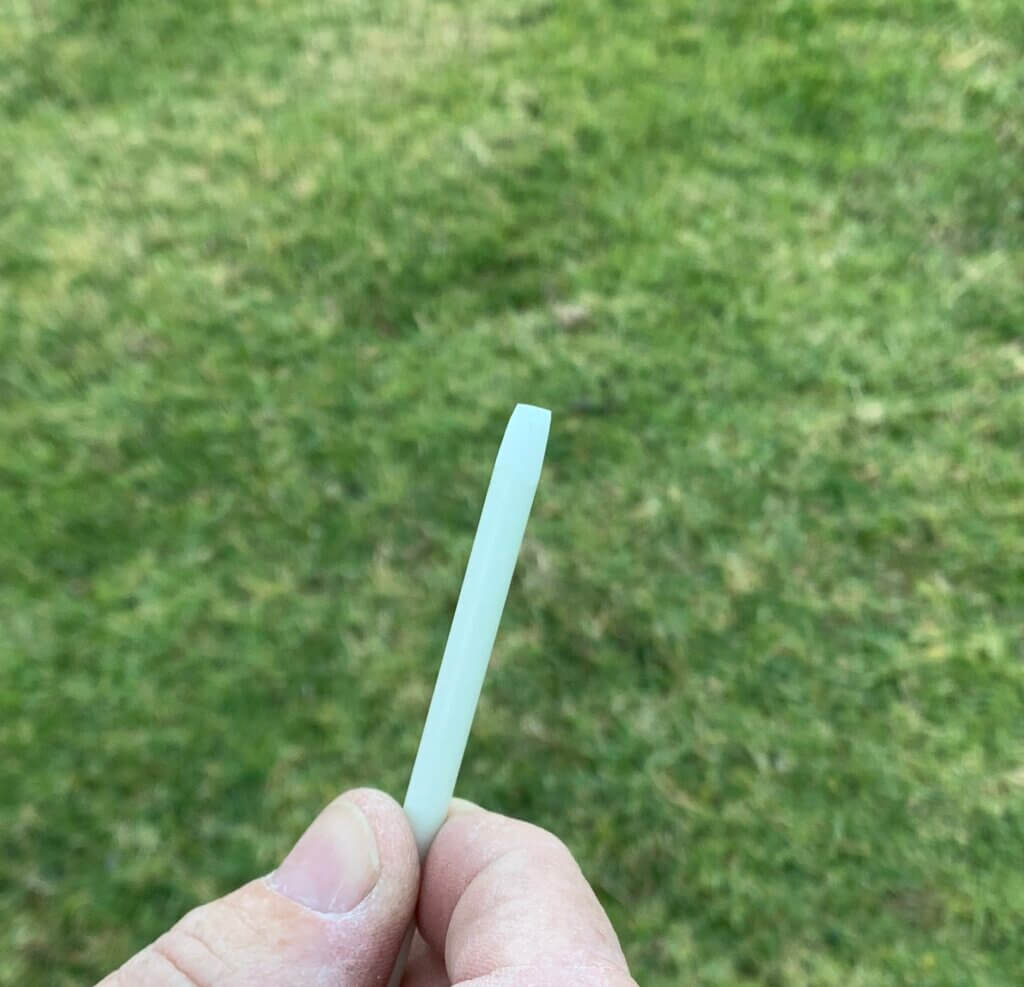
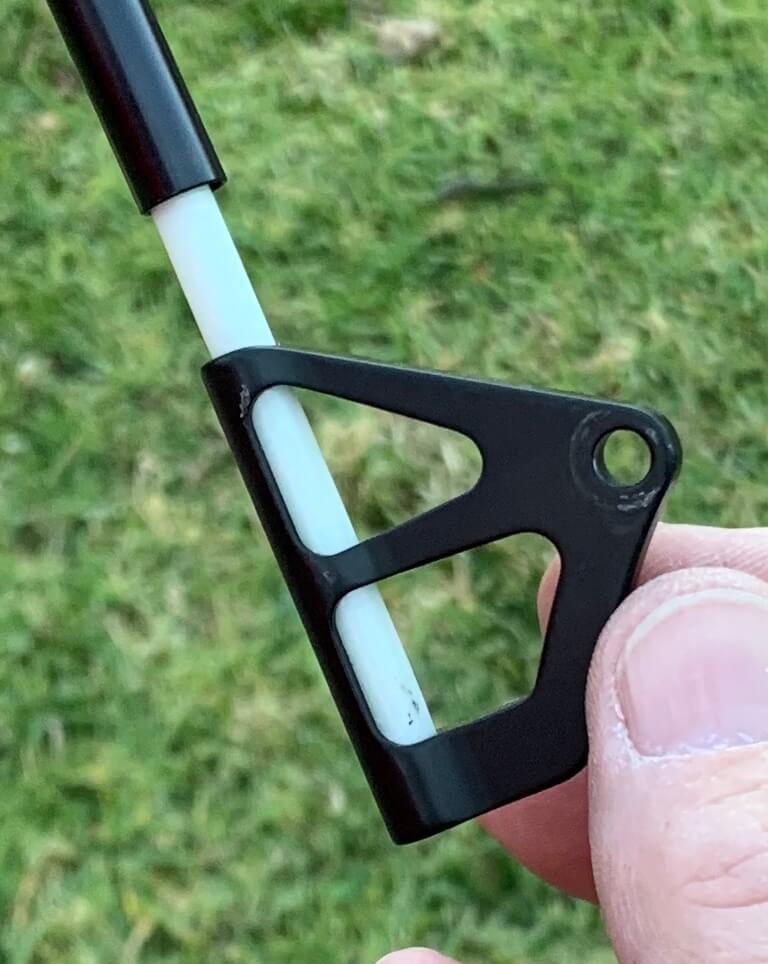
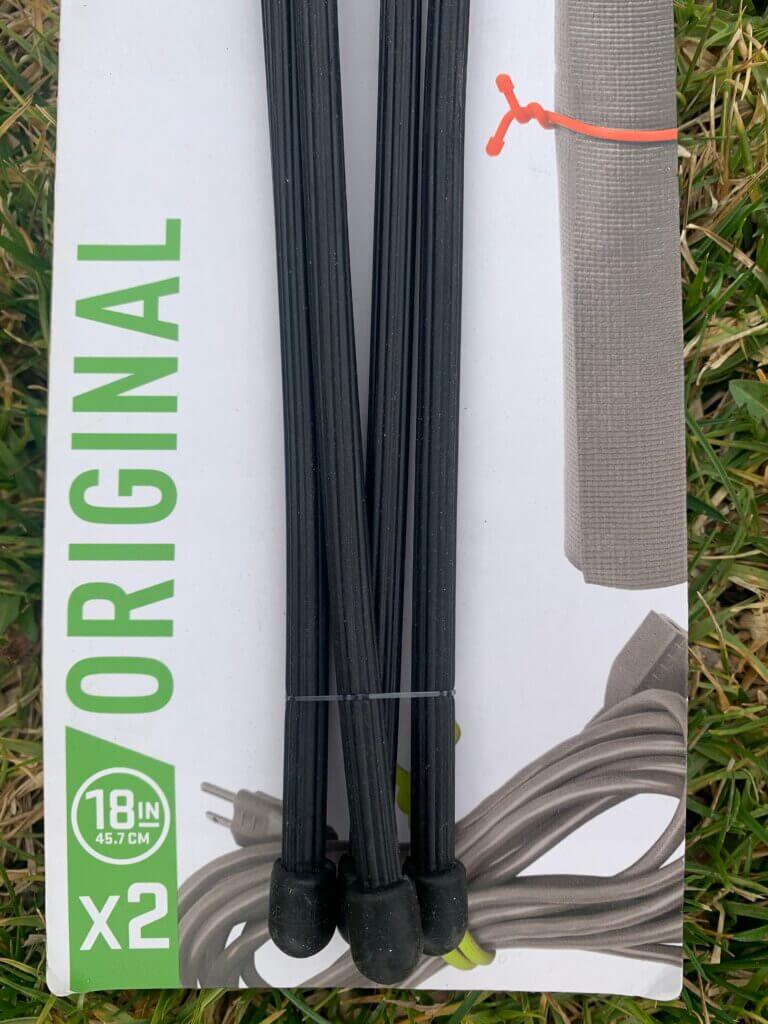
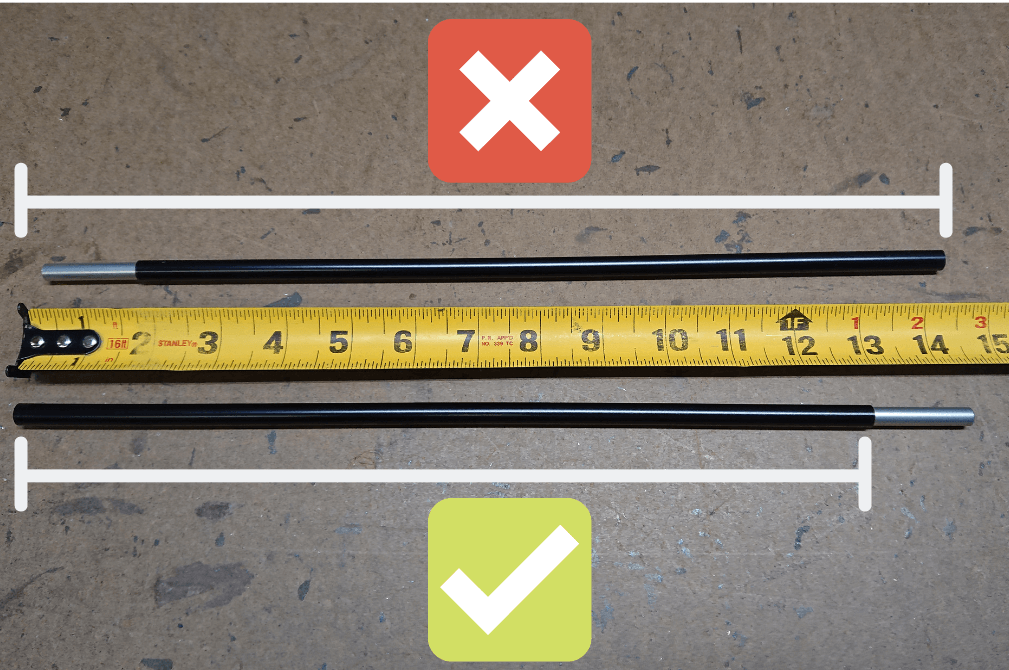
Tent Pole for Spinnies

Safety and Style

The Best "Flag Holder"

Upon purchasing my first Catrike, I wanted more visibility than the included flag provided. Premier Kite’s Tecmo Spinnies achieve that, but how to attach it was the issue. After many trials and errors, I assembled tent poles. They do not break as nylon and carbon fiber do. Currently, over 60 Tent Poles are being enjoyed by Veterans, persons with challenges and on our collection of 14 Catrikes. During thousands of miles of riding, even in strong winds and at speed, there are no issues. They bend and flex, but do not break.

TENT POLE DETAILS

Easton Aluminum
Four Sections Foldable
Gear Tie and Pins Included
Attach Your Own Spinnie or Flag
Assembled in California by a Catrike Rider

ABOUT SPINNIES

Our eyes notice movement. We assert that since Spinnies move a lot, motorists see them more.

We are far safer using Spinnies, while riding, than just a typical small flag.

Spinnies are 5-feet Long. Purchase one below directly from Premier Kites.

Spinnies do NOT flap in your ear.

How to Build Your Own Tent Pole

Determine Where to Drill the Hole

Place the dome tip next to the only tent pole that does not have an insert. The lip of the dome tip should rest on the edge of the tent pole just as it does when inserted into the tent pole. Mark the pole where it matches the hole in the dome tip.

Drill the Hole

Use a 3/8" bit and drill slowly at first. Once the hole is formed drill faster. Drill all the way through both sides of the tent pole.

Drill the Hole

Use a 3/8" bit

Both Sides

Drill all the way through both sides of the tent pole.

Both Sides

You can see daylight here, just like when you look into my ears.

File the Hole

With a round file, take off any burs. This will ensure a smooth exterior.

Measure the shock cord

Based upon using four 18" Tent Pole sections, 44" is about the correct length of shock cord. You may want to shorten the cord once assembled. There is an ideal range of tension on the cord which will keep the tent poles together. If you do not wish to keep tension on the shock cord throughout the assembly, then feed approximately 60" of shock cord (or enough for it to stick out the "top" tent pole = 3 inches past the top). Then cut off the excess cord upon achieving the optimal amount of tension, on the Shock Cord, when pulled at the top of the top-most Tent Pole.

Cut the Shock Cord

Cut the shock cord.

Tie the Ring

Double tie the #4 solid ring to the end of the shock cord.

How the Ring Works

Once the shock cord is completely pulled through, the ring will "hit" the "inside bottom" of the insert, of the first tent pole. Since the ring's diameter is larger the diameter of the insert, the end of the shock cord will stop there. This is critical for the four tent poles to be pulled together to form the overall tent pole.

Feed the Shock Cord

Feed the end of the shock cord that does NOT have the ring, into the bottom of the first tent pole. Feed it into the side that does not have an insert. All inserts must be at the top of their respective tent pole. Then each insert will go into the tent pole "above" it. NOTE: The shock cord must be pulled tight all the way through AND prevented from slipping out of your hands. Should this prove to be difficult, cut the shock cord at 60". Then you can feed it through without tension on the cord. Finally, pull the cord tight and move on to the next step = Tie Off the Shock Cord

Tie Off the Shock Cord

Hold the dome tip in one hand, pull the shock cord through the hole. Maintain tension on the shock cord whilst double tying it around the dome tip.

Cut Off Excess Shock Cord

Cut off excess shock cord while leaving 1/2" past the dome tip.

Insert the Dome Tip

Feed both pieces of shock cord back into the tent pole and insert the dome tip.

Insert the Split Ring

Make sure that the dome tip hole is lined up with the hole that you drilled. Insert the 1 1/2" split ring into the hole. It will resist going in easily. Easy insertion will be affected by the correct placement of the hole. Everything may not line up perfectly. Be persistent. You may need to remove the dome tip, while not untying the shock cord, please. Carefully re-drill the hole while creating a slightly larger opening.

Insert the Number 10 Solid Ring

Insert the ball bearing swivel into the number 10 solid ring. Insert the number 10 solid ring into the 1 1/4" split ring. It may be advantageous to do this prior to inserting the 1 1/4" split ring into the tent pole.

Attach the Spinnie

Attach the Premier Kites Spinnie by opening the clasp on the Spinnie.

Make a Pin

The interior diameter of the tent pole and the flag holder will be the same. Therefore, neither one will insert into the other. Solution: cut a 3" or 4" piece off of a standard nylon pole. Grind a beveled edge on both ends. The will provide easy insertion and remove any frays.

Finished Pin

Make several pins. This will be the weak spot of the configuration. As, it should be. It is inexpensive and easily replaced. Should your Spinnie get caught on a tree branch, or a fence or on a gigantic Ninja Turtle, it may merely pull out of the holder. Occasionally, the pin will break. No worries, I carry an extra pin in the pannier bags.

Insert the Pin Into the Flag Holder

The pin will connect the tent pole to the flag holder. {Obviously, the flag holder is screwed into your frame}

Fold the Tentpole

You can fold the tent pole for easy transport. It fits nicely into the bag along with the Premier Kites Spinnie.

Order Your Premier Kites Spinnie

Directly

Order your Spinnie DIRECTLY from Premier Kites or use another spinner/flag that you prefer

SMALL Spinnie Set is the preferred size (Diameters 9″, 7″ ,5″)

Color choices: Tecmo, Patriotic, Rainbow and Circus

Click the images below

Please note that I am NOT profiting off your Premier Kites purchase. I am only receiving good will 🙂

Tecmo Spinnie
Patriotic Spinnie
1BEF379E-84DA-4053-B0CE-16FF0670395B_1_201_a
Rainbow Spinnie
E3338D7A-1DB4-491A-A1D8-C695A58098A5_1_201_a
Circus Spinnie

Complete Parts Required